 KEEP
KEEPA digital declutter checklist for your iPhone (about 90 minutes)
To declutter your iPhone, work through seven areas in order: storage, photos and screenshots, saved posts, apps, notifications, email and files. Give each a time limit, delete the obvious first, then keep only items that have a next step. The full pass takes about 90 minutes and can be split across a week.
Coming soon to iPhone
What should a digital declutter cover?
Seven areas cause most of the mess: storage overview, photos and screenshots, saved posts and links, apps, notifications, email and files. Do them in this order, because storage tells you where the weight is. You do not need to finish in one sitting. Ten minutes a day for a week works as well and is easier to repeat.
Before you begin, take two decisions. First, what counts as keep: anything with a clear purpose or a next step. Second, how you will handle doubt: if you are unsure after ten seconds, move the item to a "maybe" folder or Recently Deleted and look again in a month.
Step 1: Check storage (5 minutes)
Open Settings, then General, then iPhone Storage. The screen lists what takes space, usually Photos, Messages and a few apps, along with suggestions such as offloading unused apps. Note the top three offenders and begin there. A phone with a handful of video-heavy items can carry most of its weight in one place.
Step 2: Photos and screenshots (25 minutes)
Photos is usually the biggest job. In the Photos app, open Albums, scroll to Media Types and open Screenshots. Tap Select, tap the oldest ones and delete those you no longer need. Recently Deleted keeps removed photos for up to 30 days, so open it and empty it if you need the space back at once.
On recent iOS versions, the Utilities section holds a Duplicates album that gathers matching photos you can merge. Merging keeps the best version and combines details.
For screenshots you want to keep, pull out the information first. If you captured a menu, write the restaurant name in a note. The screenshots guide has a full method, and the screenshot sorting in KEEP reads the text on images you choose and files them into folders such as Places or Recipes.
Step 3: Saved posts, reels and links (20 minutes)
This is the area people skip. Open the saved lists in Instagram, TikTok, Safari Reading List and any bookmark app. For each one, delete everything you cannot explain in a few words. For the rest, add a verb: try, go, buy, send, learn, remember. Keep a small number, perhaps twenty, and put a date on a few of them.
The article on turning saved links into a to-do list shows how to structure it. The guide to saving Reels for later covers the Instagram side.
Step 4: Apps (10 minutes)
Scroll through your home screen and the App Library. Delete apps you have not opened in three months. For apps you use rarely but want to keep, Offload App frees the storage while keeping your data. Check for duplicates, for example three notes apps or three PDF scanners, and keep one.
Step 5: Notifications (10 minutes)
Open Settings, then Notifications. The list is sorted by how often apps send alerts. Switch off anything that interrupts you without helping: games, shopping apps, social apps that report likes. Keep alerts from messages, calendar, banking and delivery. Fewer interruptions make the later steps easier, because less new clutter arrives.
Step 6: Email (15 minutes)
Unsubscribe from the senders you never open. Search for "unsubscribe" in your mailbox and look through the first page of results, since the top senders are the ones to cut. Then archive everything older than a year in bulk. You do not need inbox zero; you need an inbox where new mail is visible.
Step 7: Files and downloads (10 minutes)
Open the Files app and check Downloads and On My iPhone. Delete installers, old PDFs and screenshots of documents you already filed properly. Move anything you need into a labeled folder, such as Taxes 2026.
How do I make it stick?
A declutter ends the day you finish it unless a habit takes over. Choose a short weekly slot: five minutes on Sunday to check Screenshots, saved posts and downloads. Apply a rule at the source: when you save something, add a reason. If you cannot name one, do not save.
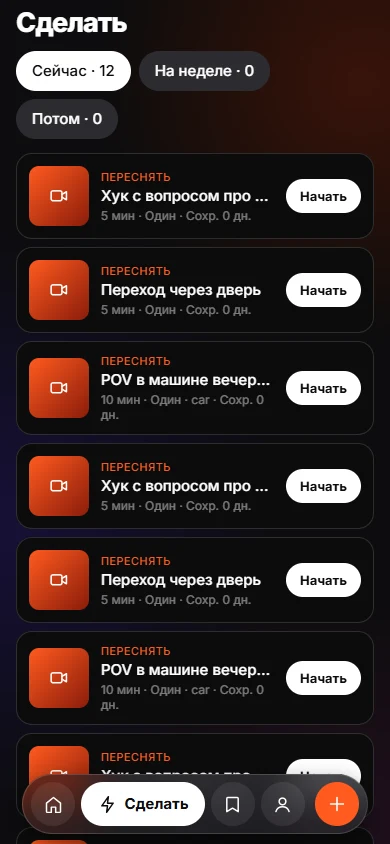
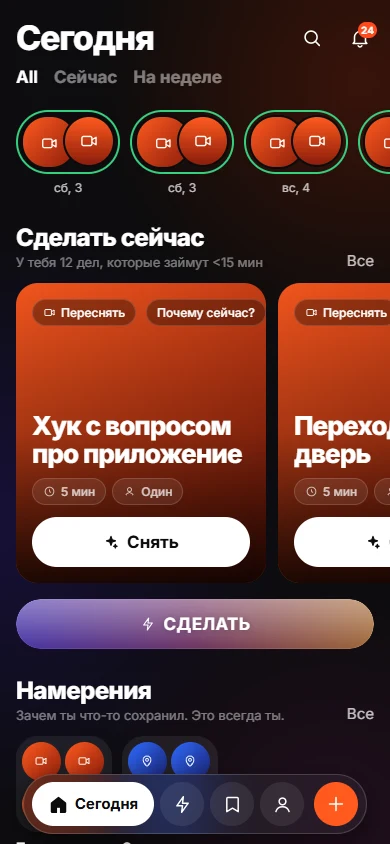
KEEP is built around that rule, as an iPhone app still in development. You paste a link or pick screenshots, then tap one of eight reasons, or Just Keep to decide later. The Do tab shows only what you committed to, and a Me tab shows how many items you finished. It is one possible tool. A notes app with a single "Do this" list works too.
What should I leave alone?
Do not delete items that are legally or financially important: tax records, contracts, medical documents, warranty receipts. Back them up first and move them to a labeled folder. Likewise, do not delete the only copy of photos with sentimental value. Move them to an album called "Keep" and back them up.
Frequently asked questions
How often should I declutter my iPhone?
A short check each week and a longer pass every three to six months works for most people. The weekly check stops the pile returning.
Does deleting photos free space immediately?
Not until you empty the Recently Deleted album, which otherwise holds items for up to 30 days.
What is the first thing to delete?
Duplicates and old screenshots. They are the largest pile with the least value, and deleting them carries little risk.
Should I delete saved posts I never opened?
Usually yes. If you have not opened a saved post in three months, the odds are low that you will. Keep only the ones with a next step.
Is offloading an app the same as deleting it?
No. Offloading removes the app but keeps its documents and data, so reinstalling restores your setup.
Keep exploring
 What Is Digital Hoarding? Signs, Causes and FixesA plain definition of digital hoarding, how it differs from normal saving, signs to watch for and a gentle way to cut back.How to Organize Screenshots on iPhone Without Losing ThemDelete in batches, group by purpose and turn the useful ones into actions.
 How to Turn Saved Links Into a To-Do List You UseGive each link a verb, minutes and a situation, then work from a short list.Sort Screenshots on iPhone Into Folders With KEEPPick screenshots, let KEEP read them, confirm one suggested action each.